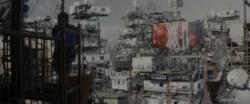
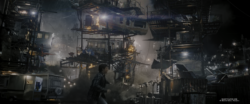
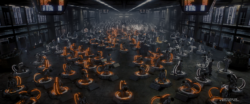
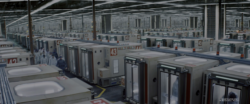
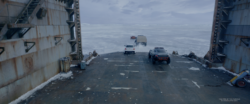
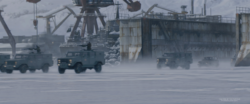
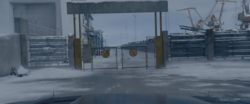
2024-present Maximillian (Adelaide-remote)
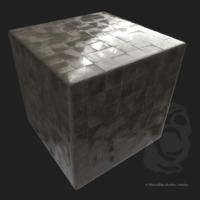
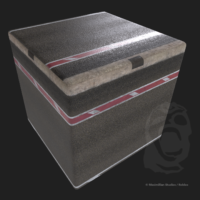
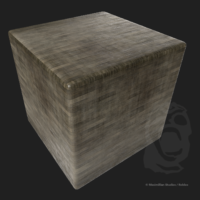
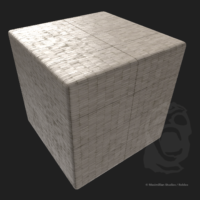
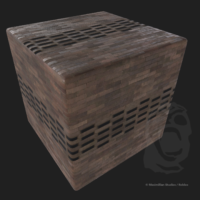
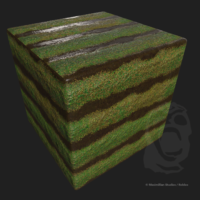
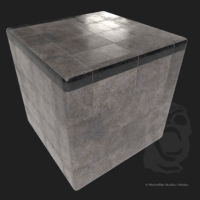
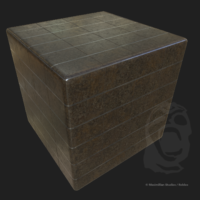
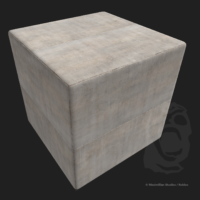
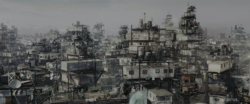
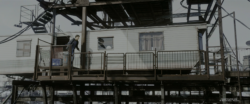
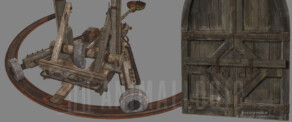
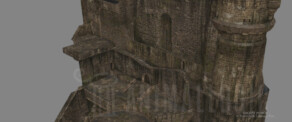
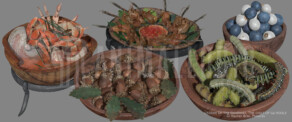
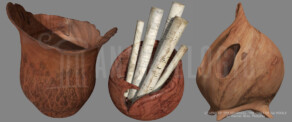
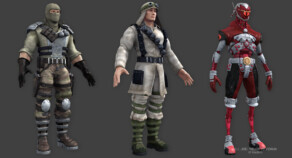
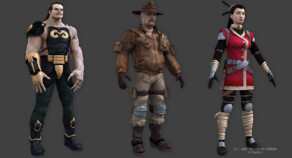
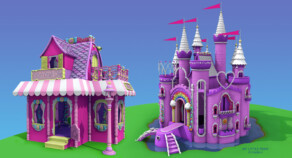
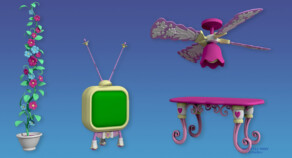
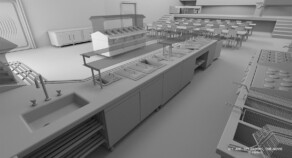
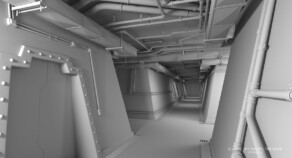
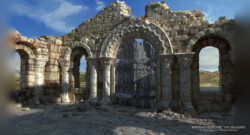
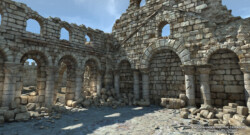
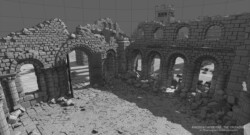
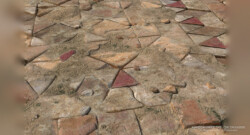
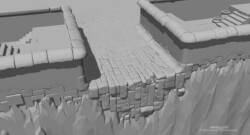
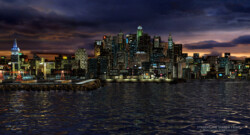
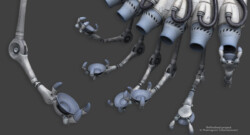
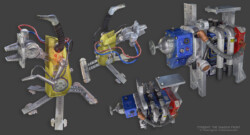
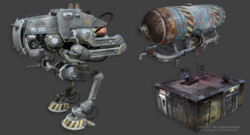
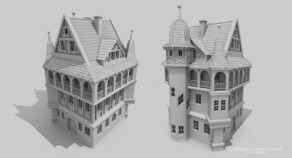
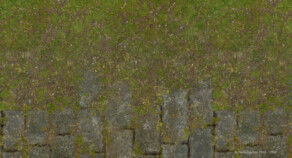
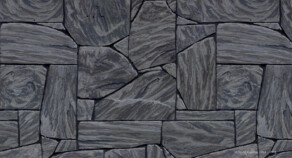
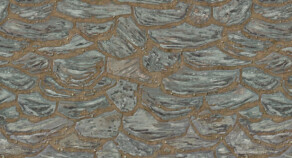
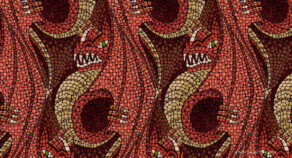
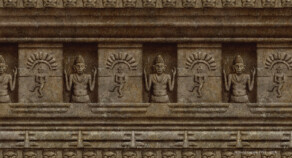
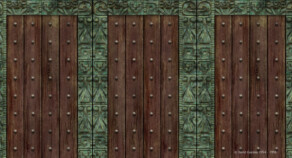
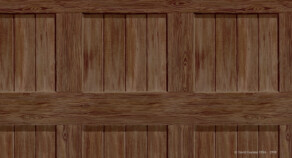
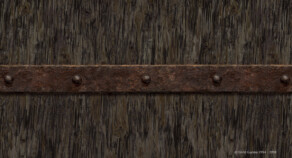
This was an unexpected chance to return to the video game industry and learn new skills, including creating hyper-realistic materials entirely procedural (Substance Designer) and working with Blender and Roblox Studio for the first time. I’ve been tasked with improving the environment look development with special emphasis on the roads, test new techniques and design the best approach to finalize the look of the environments. My responsibilities includes create PBR materials and masks in Substance Designer (including atlases and trim sheets), look development of buildings in Blender (including UVs designed for seamless textures and trim sheets) and applying materials and decals in Roblox Studio.
2021-2023 Rising Sun Pictures (Adelaide)
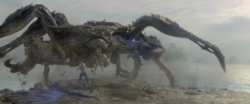
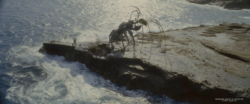
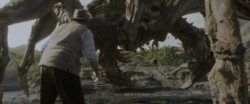
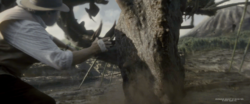
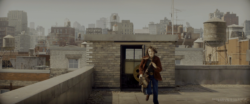
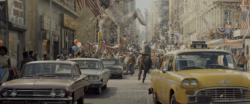
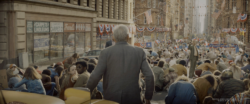
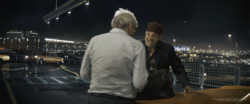
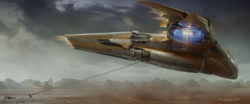
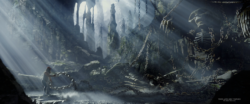
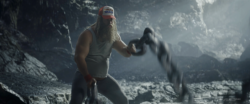
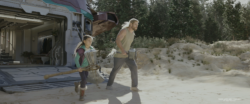
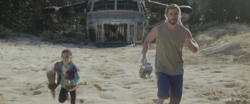
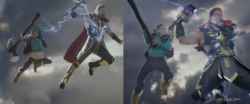
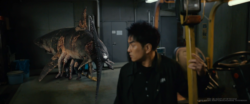
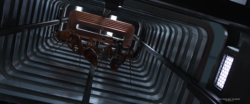
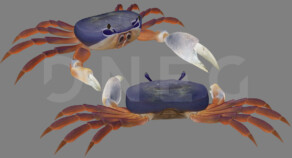
In this position I worked as a look development artist for a great diversity of projects and many different tasks. Most of my work was focused on the films Thor: Love and Thunder, Indiana Jones and the Dial of Destiny and The Fall Guy, were I was assigned to several set extensions, buildings, environment elements, vehicles , digital doubles and props. Another important assignment, this time for the Apple TV+ show Monarch: Legacy of Monsters, was a giant crab creature with extreme close ups in which I put a lot of effort on specular, bump and displacement for the small details. To a lesser extend I was also involved in other projects like One Piece (digital doubles) and The Marvels (Captain Marvel digital double and other assets. uncredited).
In addition to the texturing in Substance Painter and the shading work in Katana and Houdini, I made several functions on Substance Designer to make some specific tasks easier in Painter, like designing a tyre sidewall, distributing text or images around a circle or using local installed font families. I shared this utilities with the team along with many seamless masks for buildings I created in Krita. During this time I also made many smart materials in Painter to speed up the texturing process.
2022-2023 Megalis VFX (remote from Adelaide)
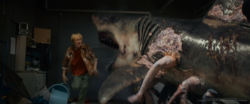
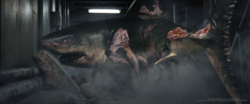
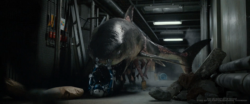
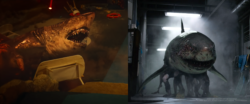
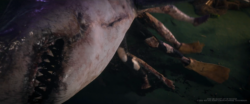
For this freelance job I was tasked with a very specific texture work. The client had a previous version of a “zombified” shark asset but wanted a more detailed texturing. After the first meeting they decided for me to work on it from scratch and provided me only with a displacement map. I first created a regular version of the shark skin and teeth texture (which was used on one of the shots) and increasingly added all the gory details on top, providing a great number of mask to the shading department to fine tunning every important detail. They also wanted to see visible veins as a way to show the disease spreading, however this did not match well with the real shark anatomy, so I decided to build something similar to veins growing from the wounds instead. I was provided with a remote workstation nearby (Amazon WorkSpaces) to do the job, which was a new experience to me.
2020 – 2021 Skydance Animation Madrid (remote from Granada)
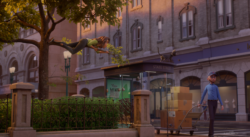
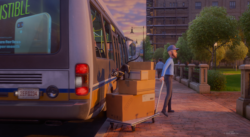
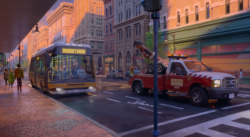
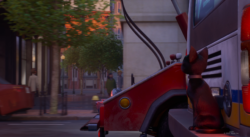
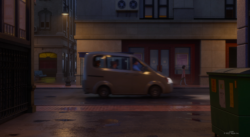
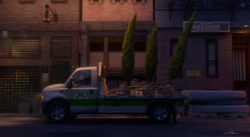
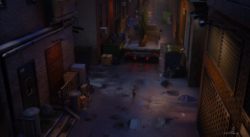
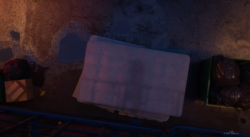
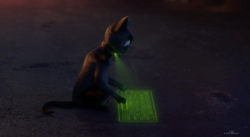
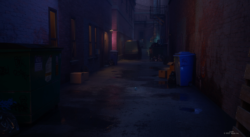
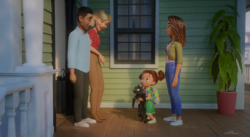
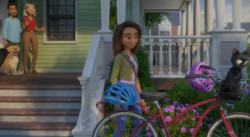
Due the pandemic situation this was the first time I work in a full time job remotely. In this position I was tasked with detailed environment work (UVs, texture painting and shading) for the animated feature film Luck. One of the most interesting assignments on this project was an extensive floor used for a whole set of narrow streets. I used a mixed technique of seamless textures and painted masks to cover the whole floor, with water puddles toward the center of the streets and dirt and gravel at the base of the buildings. I also worked on several building for the same streets and many other elements like two different versions of the same truck, a wood pallet with mattresses, a trolly with boxes, a bus stop shelter, park fences, the house’s exterior of Hazel’s adoptive parents etc. Additionally I was assigned to give a more detailed finishing to a few assets from other less experienced artists. In this position I have the chance to consolidate my skills with Substance Painter (including my own library of smart materials) and create shaders in Maya using Arnold render.
2019 Marza Animation Planet (Tokyo)
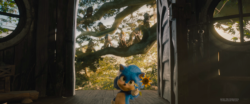
This was a short job to help finishing the fully animated backstory for Sonic the Hedgehog. The VFX supervisor wanted a detailed finishing on some of the assets and invited me to join the team.
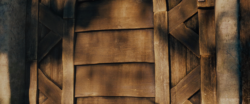
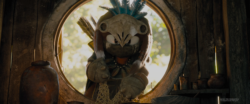
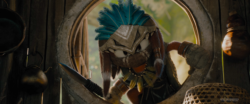
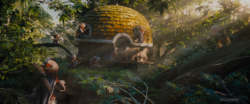
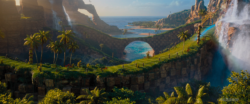
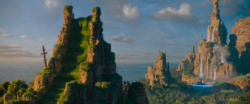
I was assigned to re-texture part of Longclaw’s cabin as there were very close to the camera, specifically the door, the walls (inside/outside) and the stucco elements. I also create textures and shaders easy to adapt to different species of trees, and help out applying generic materials to some of the rocky environments, for which I even create some modeling that was used to create cube-like displacements. This also the first time I used Substance Painter intensively for texture painting.
2018 Cinesite (Montréal)
In this occasion I joined a newly created division for live action films in a lead position. I wrote many tutorials related to the texture department, organized the approach to the different projects, keep a fluid communication with other departments and make suggestions to the supervisors to make the process more efficient. However during the time I was in this job the division didn’t ramped up and I only had another artist in my department for a few months, so most of my work was focused on texture painting.
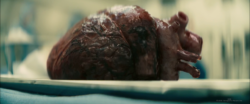
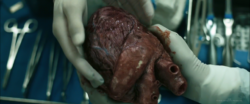
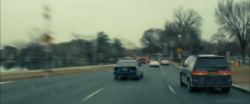
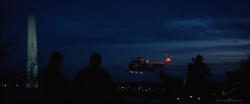
As a texture artist most of my work was done for Vice, were I did the texturing for a digital replacement of the heart, providing a great number of mask to the shading department to fully controlled every aspect of this element, specially the veins. I also create a complex material to texturing vehicles, which I applied on several cars and even reused on the helicopter (Marine One). Although at this point I was using Mari for several years, this was the first time I used intensively the node interface. Apart for this project, I did a little bit of (uncredited) work on other films like The Predator, Ant-Man and the Wasp and Mary Poppins Returns.
2017 – 2018 Sony Imageworks (Vancouver)
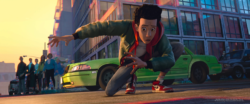
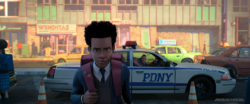
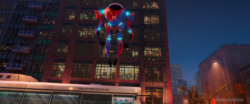
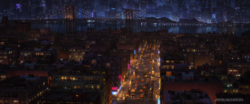
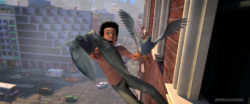
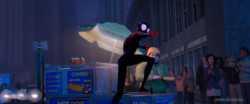
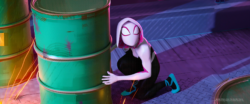
Although I was already very experienced as a texture painter, Spider-Man: Into the Spider-Verse was different than any texture work I did before. When keeping some realistic details we also introduced some characteristics of early comic printing (inaccurate ink placement, simplified shapes and visible dots and lines). The shader and effects team introduced other details and “imperfections” to complete the final look. The texture painting work was not difficult, however as they wanted to achieve a very specific look and consistency between artist was paramount, it took a little bit of practice. I worked in a good number of buildings as they were very happy with the results, plus other environments elements (including an industrial floor, scaffolding elements and a pretzel stall).
2016 – 2017 Digital Domain (Vancouver)
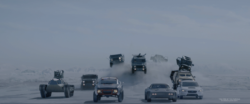
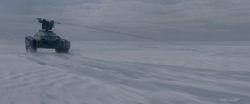
On this new position as a texture artist, my first assignment was The Fate of the Furious. I worked in some set extensions, environments elements and a couple of vehicles, with special emphasis to the digital version of a hero tank-like vehicle in which I put a lot of detail. Although I was already accustomed to work with image files containing different mask in each channel, the way this company consistently organized these masks to make them available to other departments, always using the the same channel under the same filename for an specific mask, influenced greatly they way I organized my work after this project.
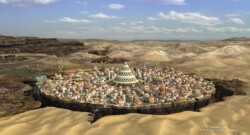
On Ready Player One I was also tasked with a few digital set extensions (increasing steel structures outside and expanding interiors) and participated in extremely busy environments with other artist, creating a variety of vehicles (many static caravans, a mobile caravan and a food trailer) and a great number of digital versions of other elements (satellite dishes, solar panels, trash chutes, wind mills, street lamps, banners…). For a short period of time we did also work on Thor Ragnarok helping with the texturing of a very large city. This was a quick turnaround involvement an we use all kind of techniques to be as efficient as possible.
2016 Sony Imageworks (Vancouver)
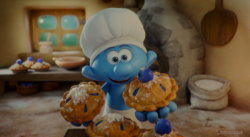
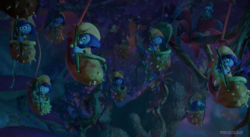
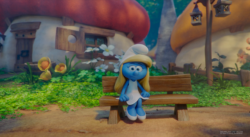
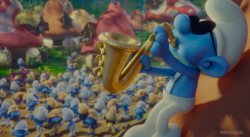
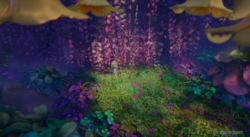
The animated feature film Smurfs: The Lost Village is a great adaptation of the Smurf comic series with colorful environments full of plants and smurf-made artifacts. My role on this project was to texture a good number of this elements, retaining the quality of real objects without being significantly dirty or wear away. As the work was shared among teams in different locations, every aspect of the studio was designed to work remotely. Meetings and reviews were always setup online and the communication related to the project was always carried on in the same way for everyone, independently of the team member’s location. This was my first experience with this kind of setup and I was impressed with the efficiency of it.
2015 ILM (Singapore)
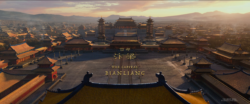
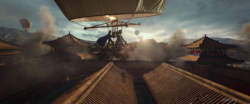
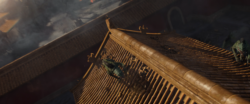
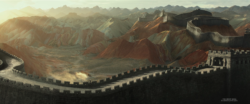
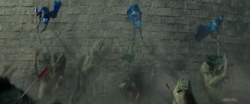
Apart from a digital double (blue female warrior) and a few objects, my main role on The Great Wall was related to environment work. After working on a few elements on the great wall, I was tasked with creating textures and shaders which could be re-used on different traditional Chinese buildings for the capital city. I successfully created an scene in Mari which automatically assigned specific textures to the different parts of the building based on the UV position (different UDIM rows), using ambient occlusion and curvature based masks to add many details. As the look development and modeling departments were working on the buildings in parallel, the use of this technique was limited but still useful.
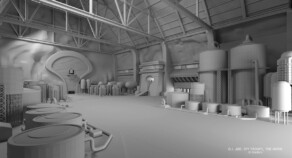
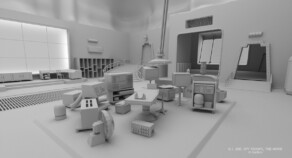
I was also assigned to a different project for some time, an animated film in a testing process in which I did the texturing and shading for an a couple of aircrafts and an old hangar. I also rebuilt most of the hangar modeling as the topology was very basic and needed fixing on some elements. As on the previous project, our main software was Mari, Katana and Maya with the use of additional proprietary software.
2014 – 2015 Iloura (Sydney)
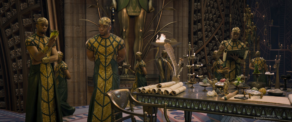
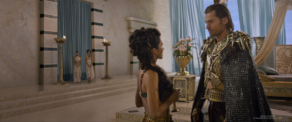
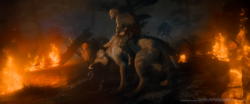
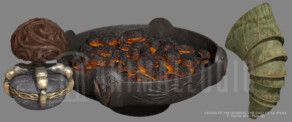
Good of Egypt was a great opportunity to work on digital set extensions and large environments, along with more specific elements like Anubis’s scepter, a couple of golden sarcophaguses, metal sculptures with blades, harnessed elephants with metallic carriages and braziers with burning coals. A great number of the shots were set on dark environments with reflecting surfaces (marble, gold, water…) and many small sources of light (usually flames), so detail on the specular and bump maps along with the fine tunning of the shader were paramount on the final result.
The wet pavement on the streets and the black marble set extensions on the interiors were amount my favorite tasks, as they gave me the chance to create those subtle details on the shader. Most of the texture painting work was done on Mari, however this was the first time I used Katana to create the shaders. I was also given the task to increase to details on assets already started by other artists which were not holding on close-ups shots and in most cases required me to start from scratch.
2013 Weta Digital (Wellington)
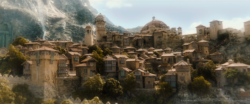
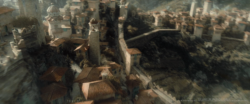
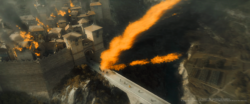
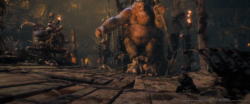
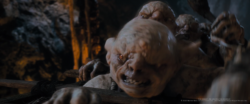
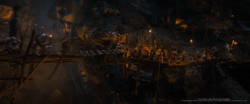
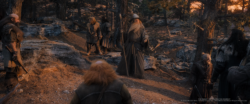
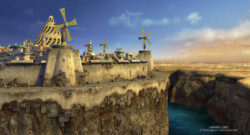
Although under a texturing role, I was assigned to the environment team were I did texturing and shading for The Hobbit: An Unexpected Journey. My involvement on the township Dale involved texturing and the city walls (outside walls and retaining walls), one of the towers, several elements for one specific shot (stone floor and elevated passage with small roof), and other small city elements. For the Goblin Town I made a bunch of environment objects, a ladder prop and a seamless lava-like rock displacement which was used on many areas of the caves.
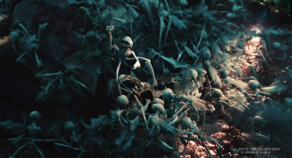
Probably my most interesting work was to create a complex forest ground using the company’s proprietary shader software, layering many texture elements like soil, pine needles, small pebbles and tiny branches. This shader was extensively used toward the end of the movie, complemented with 3d pebbles, branches and rocks. For this environment I also worked on some of the large rocks.
Here I had the chance to work extensively with Mari for the first time to created detailed 3D painted maps. I also created a dozen of very detailed 8K seamless textures for the team in Photoshop, which were used on many of the environments and later on were included on the company’s texture library.
2010 – 2011 Dr D (Sydney)
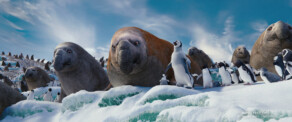
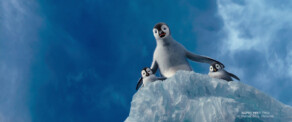
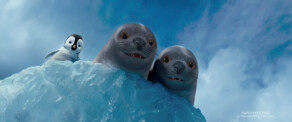
Getting back into the snow and ice with Happy Feet 2, I had the chance to do detailed textures and shaders for large environments, a few props and some other objects. A small part of my job on Happy Feet (earth surfacing) was recovered for this new film. Once again I had the chance to use a lot of procedurals and tileable textures, but also to work on very detailed elements and get a better knowledge on more technical shading with a great emphasis on specular detail. This time we did the shading on Houdini with the help of a set of custom nodes. Although I created most of the detailed textured work in 3D Body Paint I also had the chance to work with Mari for the first time, mostly to creating masks for large environment elements.
2008 – 2010 Animal Logic (Sydney)
In this position I had the chance to work on three different projects as a digital artist for both texture painting and shading, using the latest company’s proprietary shading software (Impasto) based on Maya.
For the film Australia I did digital set extensions for the firs time, involving wharfs and even a seaplane. I also did other elements like a full ship (the Barossa), whole wharfs, the mayor’s house and some other environment elements.
Legends of the Guardians: The owls of Ga’Hoole, an animated film with a semi-realistic style, detailed textures and uncomplicated shaders, was also my longer involvement in this position. The environments were full of objects and I made a great number of them, plus some hero props.
In Suckerpunch I have the chance to work in several environments in conjunction with other artists, including building parts and some more specific objets. Here I created many tileable textures (which I shared with the team) and a base shader which I was able to apply to many similar building blocks and was prepared to build detail on top. When we reached a technical issue limiting the amount of files we can use on our shaders, I designed a way to storage several different non-overlapping masks on each channel of a RGBA file, using different tonalities of gray and isolating them on the shader.
2007 – 2008 Double Negative (London)
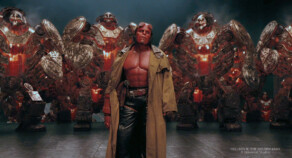
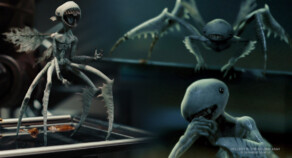
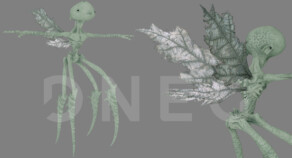
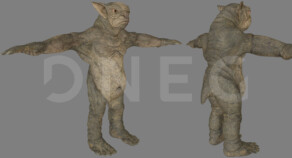
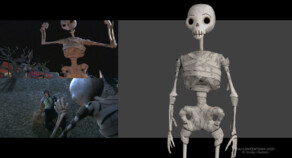
Because of my previous experience with mammoths I was assigned to creature texturing for Hellboy II, painting very detailed maps on 3D Body Paint. With the tooth fairy I learned a great deal about organic texturing and I provided numerous channels and masks to the shading artist.
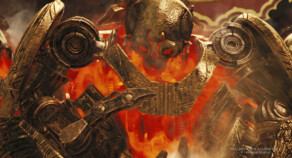
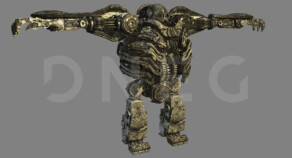
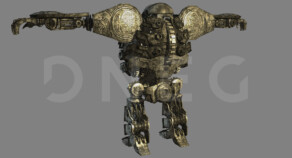
In the case of the the golden army, as the number of pieces I was needed to texture was huge, I created an action in photoshop to generate a detailed texture base for all elements, using exported images of each UV tile. After that I manually painted all the necessary extra details in the most important pieces. Later on the hammering bump was added by the shader artist. A number of internal pieces were created by other artists for certain scenes.
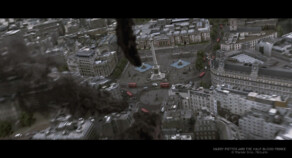
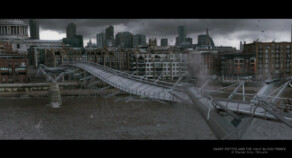
I also worked in Harry Potter and the Half Blood Prince for a few months. I textured a good part of the pavement of the streets of central London using aerial pictures, a part of the Millennium Bridge and even I did some low poly modeling of Trafalgar Square for the layout department.
2006 – 2007 The Moving Picture Company (London)
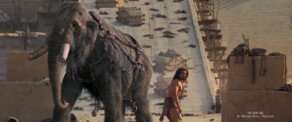
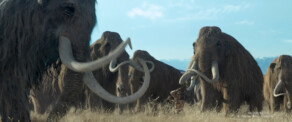
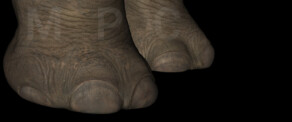
My first experience on a live action movie (10,000 BC) was not very technical but required a very intensive texturing work. Together with another artist, I worked on the skin of the hero mammoth using very detailed photographs from elephant skin. We even had the chance to travel to the place were the pictures were taken and take a good look at the elephants.
The client was expecting a very detailed work on the skin and the possibility of close-ups, so we worked with a high numbers of 8K textures and passed all the necessary channels to the shading department. In my case I create textures for the legs and the back part of the body.
I also have the chance to texture the mammoth’s harness, a variety of tusks and some other objects. Also most of my work was done in Photoshop, I also tried a couple of different 3D painting software and ended up using 3D Body Paint.
2005 – 2006 Animal Logic (Sydney)
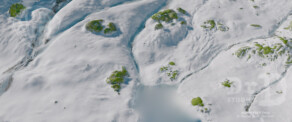
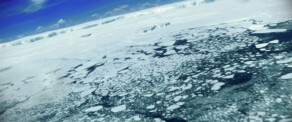
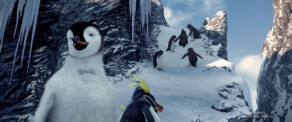
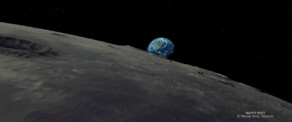
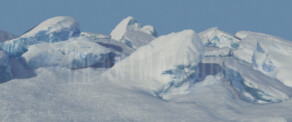
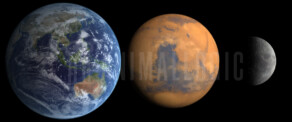
This was my first experience on a feature film (Happy Feet) and also a very technical position. I was tasked with texturing and shading large environments set in Antarctica, involving mostly snow and ice (plus some rock and water surfaces) and using a proprietary software based on Maya (Freezer) and to create the shading, rendering with Mayaman. I was also tasked with the look development of the Antarctica itself (as seen from space), the planet earth and the moon, plus the planet mars (the latest it was never used).
We make an intensive use of procedurals and tileable textures plus more specific painted ones for ice walls and cracks. We were responsible also for baking ambient occlusion, subsurface scattering and even effects like hologram shading, sending the renders to the farm and connecting the resulted images back to the shader.
2003 – 2004 Reel FX Creative Studios
On this occasion I participated mostly on straight-to-DVD quick turnaround projects . The need to finish a great amount of tasks on a short period of time (like texturing and shading two of three characters on a single day) did teach me how to work more efficiently under pressure. I did improve the quality of my models and got a better understanding of topology for subdivision and UVs in general, as I created a lot of modeling for environments, props and some organic elements.
I also got my first experience with live action projects and commercials, as I participated on two Disney TV movies, a documentary and three TV ads. Overall this position was a great opportunity to improve my skills, as involved a lot of work in a good number of very different projects, when still had the freedom to decide how to approach each task and in some cases a lot of margin for creativity.
2000 – 2003 Phantagram Entertainment (Gilbert – Los Angeles)
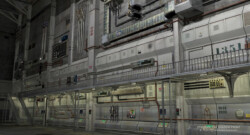
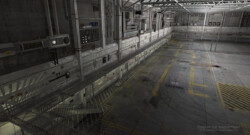
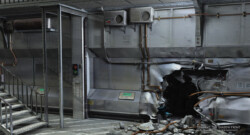
When still on the video game industry working on cinematic trailers , this was the first time I was involved on the creation of fully digital scenes. Here I have the chance to do modeling, UVs, texturing, shading and even some lighting and rendering test, creating environmental objects (industrial, robotic or construction elements) and even entire environments by myself.
Being in a very small team I have some inputs from my colleagues but I was forced to develop my skills mostly by myself, improving my modeling skills (the topology was far from ideal) and learning a great deal about texturing and shading. I had the chance to use different software on each project, developing technical skills along with the artistic work. During this time, apart from Photoshop I used 3D Studio Max, Maya and XSI and different render systems like RenderDrive, Maya Render and XSI (global illumination, final gathering).
1999 – 2000 Pyro Studios (Madrid)
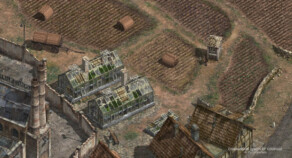
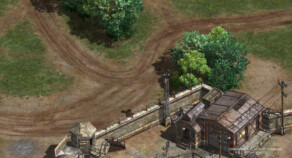
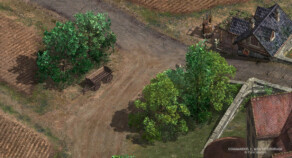
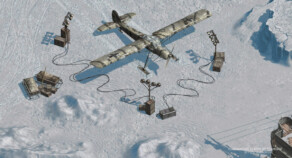
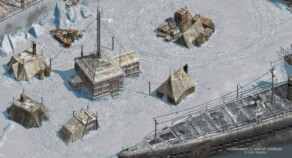
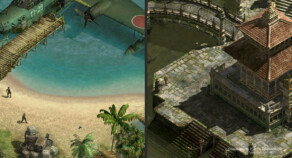
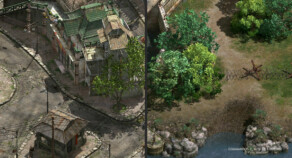
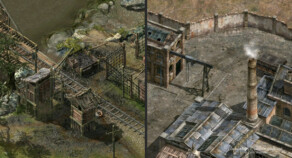
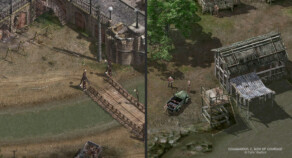
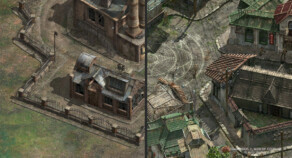
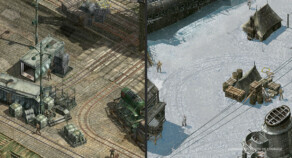
Although I did a little bit of modeling when I joined this project, my main task was to create very large images in photoshop to cover big portions of the ground. The environments were created using a great number of 3d elements but still many flat areas remained with little to no detail on it. I painted the missing details around the 3d elements like natural terrain, sown fields, roads, grass, soil, gravel, snow, different pavements etc. I added more specific details like tire marks, oil stains, dry leaves, moss and even the remain of a campfire to help with the integration and to make the result more believable.
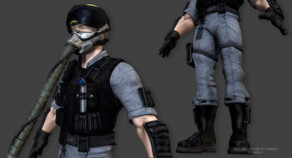
This is a real-time tactics video game were the player can move a squad of commandos around the whole environment. Each level were pre-rendered from four different point of views (orthographic cameras) and the player was able to move the screen to visualize de different areas of each environment.
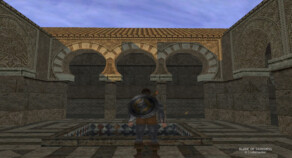
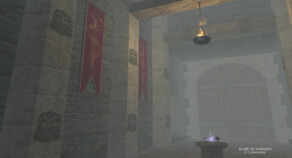
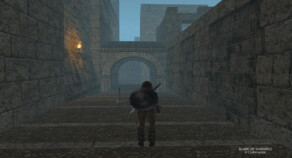
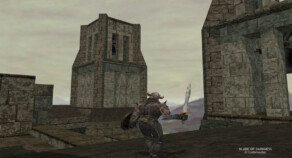
1994 – 1998 Rebel Act Studios (Granada – Madrid)
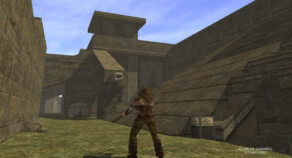
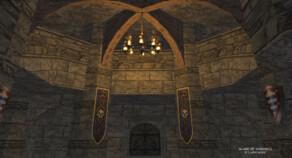
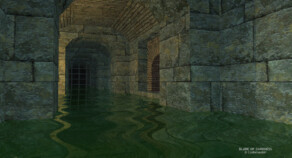
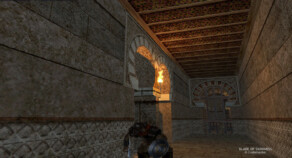
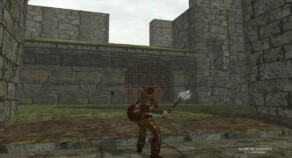
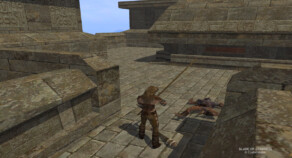
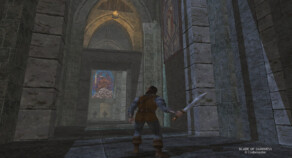
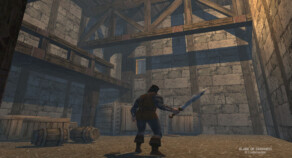
In 1994 a small group of college students in Madrid were in the process to create their own video game and they were looking for a texture painter for the environments. The father of one of them was the owner of a small cafe & bar in Granada, where my own father use to meet some fellow artist every Thursday. So it was by pure chance that they got in touch with me and I ended up joining the group. Mostly because we didn´t know any better we decided that I would pain the textures in paper, use a scanner to digitalize them and make them seamless with an early version of Adobe Photoshop.
Later on we found a company interested in produce the video game so I moved to Madrid where we started to work full time in an office fit out for our project. As I was getting more experienced with Photoshop, more of the work was done digitally and I created new details and many variations of the original paintings. When I finished my work on this project I ended up creating over 300 paintings with gouache and a little bit over 1000 digital tileable textures in total. Although I mixed the images on 1000 x 1000 pixels (instead 1024 X 1024, again I didn’t knew any better), the video game was finally published with the original planned resolution of 256 x 256 pixels, as they found some difficulties when they tried to increase the resolution near to the end of the development.

